How to grow weed in a cupboard
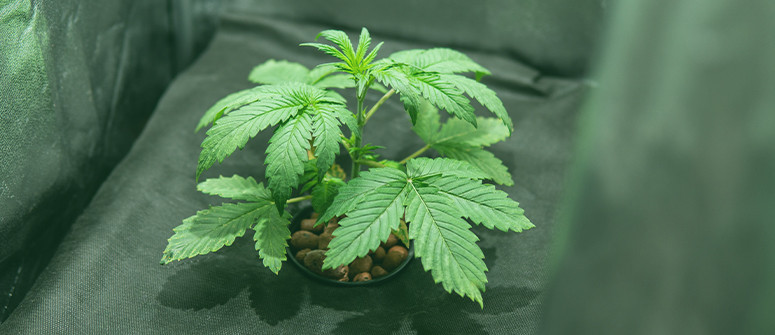
If you're on a budget or limited for space, then use what you already have! A cupboard can make an ideal space for growing cannabis—with a little modification. So, whatever your options, find out how to achieve high-quality yields with a cannabis cupboard grow.
Contents:
Plants find all sorts of strange and unlikely homes, but you rarely find them growing inside cupboards. And while unmodified cupboards might not be the most hospitable environments for most plant species, a properly adapted cupboard can be a very good space in which to raise high-quality, indoor-grown cannabis plants!
And in this article, we’ll show you how to do just that.
Can I really grow weed in my cupboard?
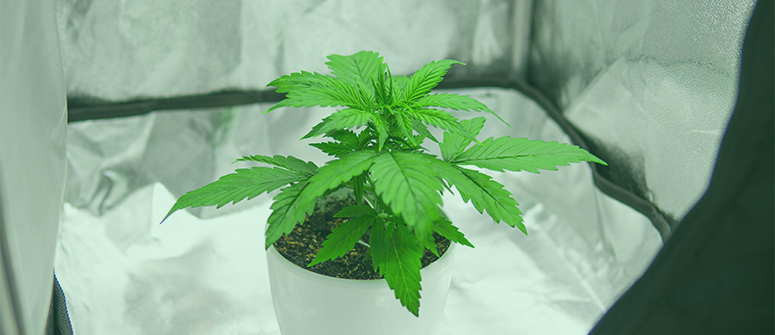
Cupboards can actually offer the perfect growing environment for cannabis. Admittedly, they need a little tinkering with before they’re ready to host their new companions, but they make the ideal casing for what can become a brilliant, compact, and subtle grow space.
In all likelihood, most cupboard grows will be on the smaller side, boasting no more than one or two plants. But if you’ve a whole wardrobe to spare, then it’s possible that you might be able to cultivate a sizeable crop, especially if you use growing techniques like sea of green (SOG).
As a general rule, you can grow between one and eight plants per metre squared of free floor space in a grow. So a cupboard grow needn’t be tiny.
Pros of growing weed in a cupboard
There are many good reasons to grow weed in a cupboard. Perhaps primary among them is convenience. If you have a small living space that can’t accommodate a tent, and you also don’t have outdoor space, then a cupboard might be the only option. But even if you do have choices, a cupboard might still be the best space to grow in. Here’s why.
Simple
A cupboard makes a simple solution to creating an effective grow space. Tents are also simple, but they’re an extra item that takes up a fair amount of space. A cupboard is usually already there, and it doesn’t look out of place or take up any extra valuable space.
Using what you already have is often a better choice than bringing yet another item into your life.
Budget friendly
Cupboards are free, if you already have one. Getting one ready for a grow will cost a little bit, as you’ll still need to fit it out, but right from the start you’ll save a significant amount of money compared to if you choose to grow in a tent.
Also, a cupboard grow is flexible. You can fit them out with expensive equipment, or you can go as cheap and simple as possible, and save yourself a lot of money in the process. If you’re growing on a budget and want to tailor your grow as a result, then a cupboard allows for this. Plus, you can always improve it for future crops!
More stealthy
Nobody is shocked to find a cupboard or wardrobe standing in the corner of a room. They might raise an eyebrow or two if they find a grow tent, though. For this reason, cupboards make excellent stealthy grow spaces, and can help to keep a grow secret.
How to grow weed in a cupboard
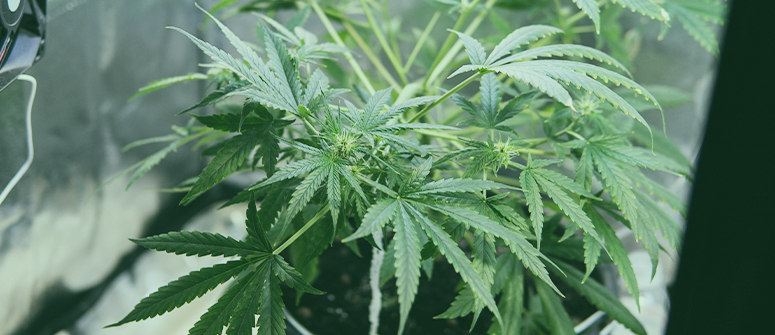
Growing cannabis indoors can be fairly straightforward, no matter how you do it. Below we’ll give an overview of how to grow cannabis specifically in a cupboard.
What do you need?
- Cannabis seeds: smaller strains are better!
- Organic soil
- Pots
- Lights: LEDs are best for cupboards
- Rigging
- Cable ties
- Duct tape
- Reflective material: Mylar foil is best
- Exhaust system (optional)
Directions
Once you’ve sorted out your equipment, it’s time to actually put your cupboard grow together. Below, we’ll outline each step of the process.
Clean your cupboard
Cleanliness is important when growing weed. It helps to keep a space clear and organised and reduces the chance of pests and disease ruining your crop. So, first things first, clean your cupboard.
The material of the cupboard will determine which cleaning products you can use, so do you research first before you destroy the inner walls. It’s most important that the space is totally clear, as this will make working in a small space much easier.
Seal any light leaks
You want your cupboard to be totally sealed from light. This stops light from escaping your grow, and, perhaps more importantly, prevents light from entering it. For photoperiod plants, periods of complete darkness are essential to proper development. For autoflowering plants, complete darkness is less important, but it's still good practice.
If there are cracks in the cupboard, cover them with duct tape or use polyfill. Sealing openings in doors can be more challenging. If light is escaping between the doors, hang Mylar or tinfoil inside the door so that it covers the exposed space when closed.
Cover or paint the inside
To get the most from your lights and plants, it's best to cover the entire space in reflective material. This means that, instead of getting lost in the corners of the grow space, almost all light is reflected back to the plants’ leaves and used for photosynthesis.
The easiest and cheapest options are aluminium foil (the worst option), Mylar foil (probably the best option), or white paint. All three of these will work, with Mylar and white paint being most effective. If you’re on a very tight budget, then aluminium foil is better than nothing, but it isn’t that efficient.
If your cupboard is big enough, it’s also possible to put up a small grow tent inside, which means you don’t need to paint or cover the cupboard walls. In some respects this makes growing in a cupboard redundant, but it can be more convenient to hide a tent away rather than have it out on show.
Hang up the lights
Once the inside surfaces are reflective, you’ll need to rig up your chosen lights. Many different lights can work for cannabis, but LED grow lights are proving to be the best choice, and this is probably particularly true for cupboard grows. They are light, small, use little energy, run cool, and last for many years (around 50,000 hours of continuous use).
But whichever lights you choose, make sure they have the correct spectrum for growing weed. Thankfully, all high-quality grow lights will offer the correct spectrum. Moreover, LED grow lights often have the ability to switch between veg and bloom settings. This means that they emit the best kind of light for both the vegetative and flowering stages, depending on which setting you use.
Set up a ventilation system and carbon filter
Depending on what kind of grow you’re going for, a ventilation system isn’t strictly necessary. But if you can afford one, they are helpful.
The primary function of a ventilation system is to draw stale (oxygen-rich) air out, and replace it with CO₂-rich air. Plants thrive on CO₂, using it for photosynthesis. It’s also worth installing a carbon filter in the ventilation system as this traps terpenes and stops it from pumping out the very obvious smell of cannabis—which can be a lure to unwanted guests!
If you can’t afford a ventilation system, you can do without them for small grows. But if you go without, make sure that your cupboard isn’t fully airtight, otherwise your plants might suffocate. The good news is that most cupboards aren’t hermetically sealed when closed, and will have more than enough airflow to satisfy one or two small plants.
Place your plant(s)
As you might imagine for a cupboard grow, you’re going to want to choose small strains. These tend to be indica or indica-dominant hybrids; of course, autoflowering cannabis strains are also more suitable than photoperiod strains. In fact, autos are perfect for cupboard grows, as they naturally tend to stay pretty small, develop very quickly, don’t mind light leaks, don’t require a change in light cycle, and are generally tougher. If you want a small, casual grow, then autos are the perfect companion.
Once you’ve chosen your strain, pick a high-quality organic soil to grow them in. Organic fertilisers reduce the risk of overfeeding and make the growing process easier and less prone to sudden issues—and it’s likely better for the environment.
Depending on how you grow, you’ll arrange your plants differently. For most cupboards, pots or between 10 and 20 litres are probably best. If growing autos, you could probably fit 3–4 plants in your cupboard by using 10l pots, and these could yield a very good amount of bud if the grow goes well.
Maintain your plant(s) until harvest
Once your plants are growing, you just need to look after them until it’s time to harvest.
For full, detailed instructions on how to grow cannabis, check out our comprehensive guide. The information in there can be used to grow weed in many different environments, including cupboards.
But here are a few top tips:
- Don’t overfeed: Many novice growers feed their plants too much, not realising that cannabis responds very badly to overfeeding, but generally fine to underfeeding. Never exceed the amount instructed on the packaging, and with autoflowering plants, you can use as little as one-quarter of the suggested dose.
- Don’t overwater: The same goes for watering. Don’t stick to a schedule, but instead use the soil as your cue. If the top of the soil is at all moist, then you don’t need to water. Wait for the top 5cm of soil to dry out completely before you water again.
- Maintain a stable pH: Cannabis prefers a pH of 6.0–7.0. The soil should be optimised within this range to begin with, and if it changes during a grow, you can adjust it with pH up/down solution.
- Train plants to keep them small: Low-stress training, sea of green (SOG), and screen of green (ScrOG) are all methods that will help to keep plants from getting too tall and maximise their yield by exposing more bud sites to direct light.
Growing weed in a cupboard: Super budget friendly!
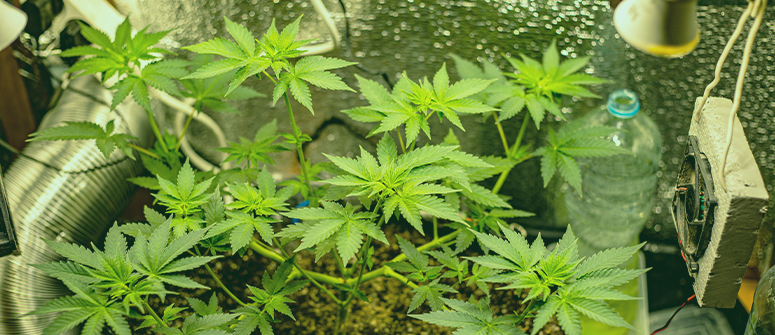
Cupboards make excellent grow spaces for cannabis. So if you’ve a cupboard with extra space, consider using this before bringing in a grow tent. Depending on your style and budget, a very ad hoc grow space can be cobbled together in a cupboard, or you can design and craft one that is just as capable as the best grow tents. This is the beauty of growing in a cupboard—it’s a very flexible option.
The good news is that growing in a cupboard follows all the same principles as growing in other indoor environments, so finding detailed information on how to do it is very easy. Good luck!
.jpg)
.jpg)

.jpg)
