5 essential tips for maximizing light in your grow room

One of the most vital components of any cannabis grow operation is light. Find out how to use light to its full potential in your next grow.
From its meager start as a seedling to its final stages of flowering, light is arguably one of the single most-important elements your marijuana plant needs to flourish. So understanding light, and how it can be manipulated to increase bud production, is an important piece of grower know-how.
Without an adequate source of light, many plants would not survive, and our beloved cannabis is one of them! Having sufficient light is one thing, but knowing that light energy can be used to power the different processes cannabis performs, maximizing that light can have some highly desirable benefits.
More intense light means well-structured plants with fatter buds. Fatter buds mean bigger yields; which let's be honest, who doesn't want better yields?
1. USE A REFLECTOR

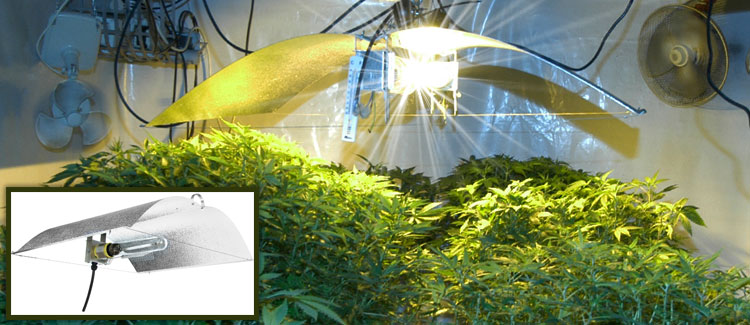
Carefully positioned reflectors can be an essential tool, moreso when space is limited. If your grow area can only run a few lights, then reflectors are a must. Doing exactly what they say on the tin, they will reflect the light from your lamps. This is the perfect way to increase light coverage and intensity during that vital flowering stage.
2. REFLECTING WALLS

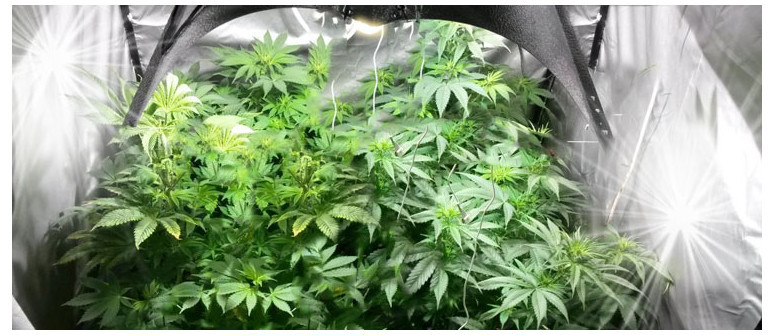
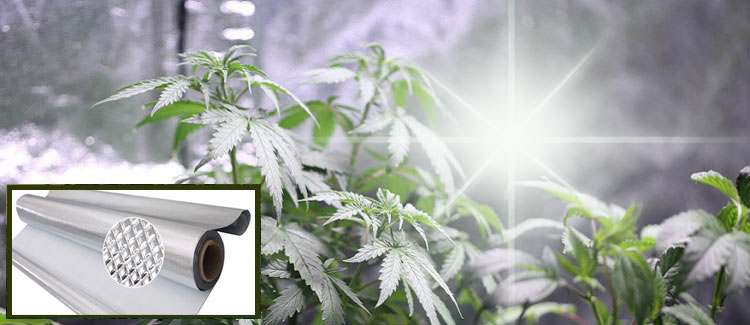
Adding reflective walls around your cannabis plants is the ultimate tool for increasing light coverage. In fact, proper reflection like this can increase light exposure to plants by up to 30%.
There are a couple of watch-outs, though. Gradual curves, rather than 90° corners, are best when choosing to cover the interior of your setup with reflective material. It provides a more uniform reflection of the light, instead of creating hot spots. It is also important to avoid any creases or bubbles as this can also produce uneven light coverage.
Finally, the best texture of reflective surfaces may surprise you. It is, in fact, the “hammer-style” rather than a smooth surface. Many DIY stores sell rolls of reflective surfaces that can be easily cut and stuck to the surrounding area of your grow. The rewards are worth the small investment.
3. CHANGE YOUR BULBS ON TIME
All bulbs have a life expectancy. Regardless of whether they are standard or LED, there will come a time when they have peaked in performance and start to become less efficient. This is obviously variable to the levels of use and style of bulb.
Careful observation of your lights over the course of your grow will make sure you are getting the most out of the equipment.As a general rule of thumb, all your bulbs should be checked every 6 months. They should, at the very least, be replaced every 12 months/3–4 grows, as you will have a diminishing performance in light intensity at this stage.
4. AVOID CONTACT WITH YOUR BULBS
It may sound obvious, but this is a simple tip often overlooked. The reason for this is twofold. Contact with a bulb creates spots as a result of the oils on your fingertips. This significantly shortens the life of a bulb, potentially causing them to explode as a result.
Secondly, the smudges left behind after making contact can act as a barrier to light. Whilst only small, it will have a negative effect on overall light intensity. Making the most out of your equipment and getting the best possible results means utilizing lights to their fullest.
5. THE LOWER, THE BETTER?
Light intensity diminishes over distance. The closer you get to the sun, the brighter and hotter it becomes. In this instance, your lights are no different. The closer they are positioned to your cannabis plants, the stronger the intensity.
However, just like the sun, this also means an increase in heat, which puts your plants at serious risk of heat stress, light burn, and a host of other problems.
Understanding whether you are growing a tall sativa or mini autoflower is extremely important to how you will organize your lighting system. As an extra precaution, consider mounting a system that allows the height of the lamps to be adjusted throughout the grow.
.jpg)
.jpg)

.jpg)
