How to trim cannabis buds: A complete guide
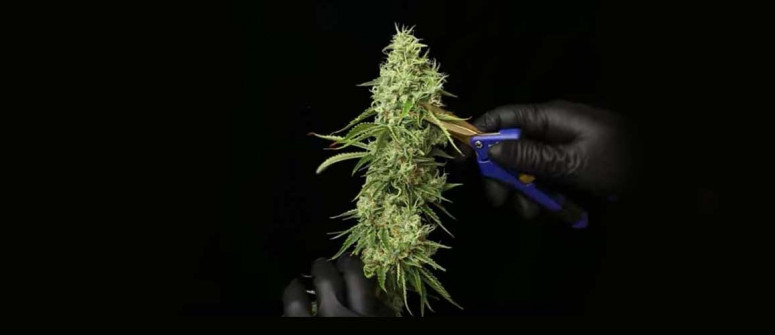
As a beginner grower, there is a lot to unravel about trimming your cannabis plants. This article will walk you through the entire process so you can trim with confidence.
Contents:
Harvest day has finally come. After weeks of lovingly tending to your cannabis plants, you’re now ready to reap the fruits of your labour.
But not so fast. Before you dive right in, there is another step you need to complete: trimming. It’s a crucial process that ensures the highest-quality buds to enjoy and share. For the gentlemen reading this, it’s similar to fixing up your facial hair before going on that first date.
Now, bud trimming is more than just about enhancing the appearance of your buds. It’s a process that brings numerous other benefits as well, most of which ultimately enhance the smoking or vaping experience.
In this piece, we’ll take a deep dive into bud trimming, why it’s important, and the proper ways to do it.
What Is Bud Trimming and Why Is It Important?
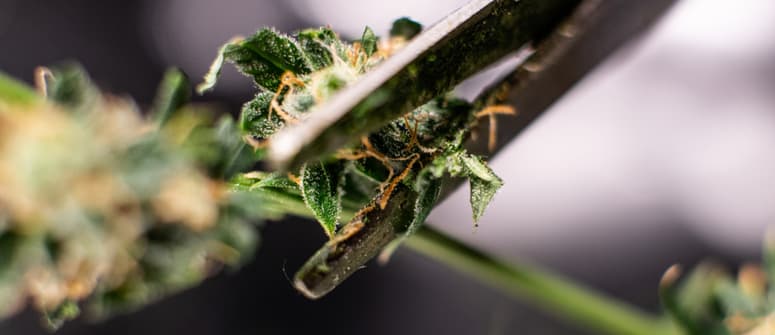
Now, many of you reading this are probably wondering, “Is trimming really that important?”. Short answer: yes. And we’ll give you four good reasons why:
- Enhanced appearance: The most obvious reason. For those wondering how they make those dispensary nuggs look so perfectly shaped, wonder no more. Whether you’re in the cannabis industry or a humble home grower, trimming will make your buds look more desirable.
- Smoother smoke: The surrounding leaves of your cannabis buds are called sugar leaves. Although they contain some cannabinoids, they make for a harsh smoke and are better off used to create edibles or concentrates. So trim off those sugar leaves and set them aside for future experimentation.
- Better aroma: Terpenes compose the foundation of a strain’s aroma and flavour. They are most concentrated in the trichomes on buds, whereas the leaves tend to have a more unpalatable, dull flavour. By trimming off the excess plant matter, the terpene profile of your strain will become more noticeable, highlighting the bud’s specific aromatic traits.
- Concentrated cannabinoid content: In addition to terpenes, trichomes contain an abundance of cannabinoids. These tiny outgrowths are concentrated on the bud itself, and therefore make for a more potent smoke.
When To Trim Cannabis: Wet vs Dry Trimming
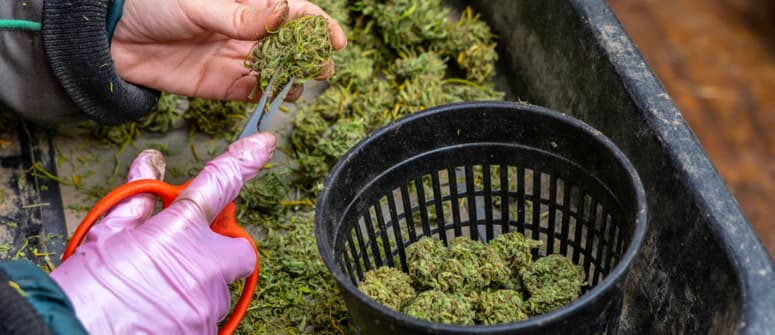
There are two main methods of cannabis trimming: wet and dry. The one you go with will depend on preference and available resources. Primarily, the difference between the two is in the timing.
Allow us to shed more light below.
Wet Trimming
Wet trimming takes place right after harvesting. You do the snipping immediately after picking your buds, before hanging them to dry. This process is more suited to indoor growers working in a tight space who don’t have room for drying.
Pros
- Leaves tend to shrivel up when dried. Trimming them off while moist makes the process much easier.
- An easier trimming process means greater efficiency. You’ll spend less time doing it!
- The sooner you get rid of the leaves, the quicker your buds will dry. This will work to your advantage if you’re living in a humid climate where mould development could be an issue.
- Speaking of mould, wet trimming lowers the chance of fungal development during the drying and curing stage. If you're a beginner, this gives you fewer issues to worry about.
Cons
- Buds tend to be less dense and compact when wet trimming is used.
- It’s a very sticky process. If you don’t enjoy getting your hands or workspace dirty, this could be a nuisance.
Dry Trimming
If you choose to go with the dry method, that means you’ll leave your newly picked buds to hang and dry first. Once they’ve lost most of their moisture content, then you start trimming.
Pros
- Letting buds dry before trimming allows them to maintain their shape. Trimming while moist may cause them to become slightly deformed, especially if laying them on their side.
- If you live in a dry climate, leaving the sugar leaves on at the start protects the buds from drying up too quickly. In turn, this preserves the terpene profile.
- Dry trimming is a less sticky endeavour. That means you’ll have an easier time cleaning your equipment.
Cons
- Dried-up trichomes are more brittle. You’ll need to be extra careful when handling them to avoid compromising your bud’s cannabinoid and terpene levels.
- Dry trimming won’t work in a small grow room, as you will need more space to hang your buds to dry.
Trimming As Needed
If you’re all about growing for personal use, you can trim your buds only as needed. Essentially, you do the snipping just before you’re about to smoke.
Pros
- Because you’re allowing your buds to hang freely, they’ll be perfectly shaped once you start trimming.
- Trimming as needed means you move at your own pace. That also means there’s less pressure on you to keep a watchful eye on your trimming schedule.
- If you buy some extra time before trimming, you can keep the buds’ terpene profile intact. As a result, you get a higher-quality smoke.
Cons
- If you let your buds sit around untrimmed for too long, they'll become brittle over time.
- Just like with dry trimming, storage could be an issue, as these unkempt buds take up space.
How To Trim Cannabis
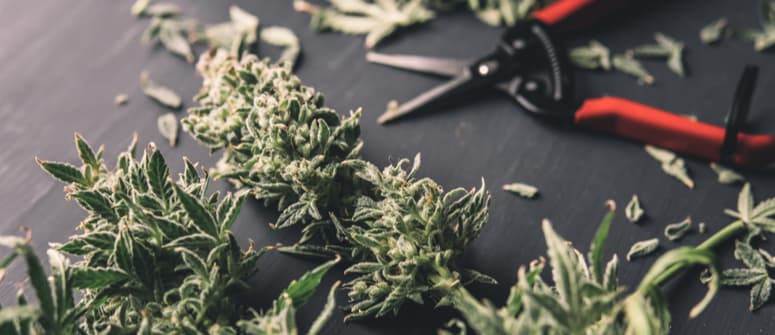
Now let’s get to the meat of the topic. Here is our step-by-step guide to cannabis trimming. We’ll walk you through the steps of both wet and dry trimming, as well as trimming as needed.
It’s worth noting that there are trimming machines you can use, especially if you’re doing it in bulk. On the downside, some of these do a subpar job, and using these machines wrong can damage your buds—and you wouldn’t want that. If you’re a beginner, you’ll want to learn how to do things by hand as well.
Essentials for Trimming Cannabis
Before anything else, let’s go through the essential tools you’ll need to start trimming. These apply to whichever method you choose.
- Pruning shears: This will be your primary tool of the trade. A pair of curved scissors should fit well around the bud’s base. But if you want a cheaper option, bonsai scissors are your best bet.
- Collection tray: As mentioned, those leaves you snipped off can be put to good use later. Have yourself a collection tray on hand for easier stashing.
- Disposable gloves: As we said earlier, wet trimming, in particular, can be a sticky process. Save yourself the inconvenience of resin buildup on your fingers by wearing some disposable gloves.
How To Wet Trim Cannabis
First, here’s your step-by-step guide to wet trimming your cannabis buds.
Step 1: Put on your disposable gloves. Now, cut off the branches of the buds you intend to trim. Using your shears, make sure each branch is reduced into smaller, more manageable pieces. Remember, since your buds are wet, they tend to flatten when laid down on a surface. Instead, you’ll want to hang them upside down on a line like how you would with your wet laundry.
Step 2: Snip off the larger fan leaves. These leaves, known for their five-fingered shape, are definitely not worth smoking. But don’t throw them out because you can use them to make tea or your very own balms and lotions.
Step 3: Now it’s time to go deeper and handle the sugar leaves. Again, these are the inner leaves around the bud. While you have the choice to leave them on, most recommend trimming them off to give you a smoother, more potent product. Set them aside on your tray.
Step 4: Trim off the stems. The final stem length you choose will depend on how you want to dry them. If you snip them off completely, you’ll have to use a drying rack later. But if you leave a small length on, you can hang your buds to dry.
Step 5: Dry your freshly trimmed buds. This process should take up to 7–10 days. You’ll want to do this in a room where you can control the heat and humidity to some degree. Drying obviously requires a fairly low humidity. Use a fan to encourage air circulation. You know the drying process is done when the stem breaks easily and audibly like a snapping twig.
Step 6: Cure your buds. You’ll want to use airtight Mason jars for this. Place your dried buds inside and allow the curing process to take place.
How To Dry Trim Cannabis
Now let’s go through the process of dry trimming. The steps are very similar, except for the drying stage, which comes earlier. It’s also not as sticky, so you can expect the clean-up to be much easier.
Step 1: Using your pruning shears, cut down your plants into manageable sizes. For easier handling and more efficient drying, be sure to leave a short part of the stem intact.
Step 2: Snip off the fan leaves. Similar to wet trimming, this is where you begin the grooming process of your buds. Cut off the larger leaves and place them on your collection tray.
Step 3: Hang them up to dry. As you can see, this is where the two methods part ways. But similarly, you know the process is done when you can easily snap off the plant’s stems. But be aware; as the buds still contain their sugar leaves, it can take up to two weeks or longer for buds to be sufficiently dried.
Step 4: Now, trim the small sugar leaves. Since these have dried off, they’re a bit more brittle. It is easier to snip them off, but there’s also more room for error. Don’t forget to preserve them along with your fan leaves.
Step 5: Cure your buds. Just like with wet trimming, place your buds in an airtight Mason jar and let them cure. This process should give you a smoother flavour.
How To Trim As Needed
The only difference with this method is the time at which you trim your sugar leaves. But overall, the process is the same.
Step 1: Cut down your plants into manageable sizes for easier handling.
Step 2: Snip off the large fan leaves and place them on your collection tray.
Step 3: Cure your buds in an airtight Mason jar with their sugar leaves on.
Step 4: Once you’re ready to smoke, that's when you trim off the sugar leaves.
How To Clean Your Trimming Scissors
The bulk of the process may be over, but your work isn’t done yet. Now you’ll have to clean the trimming tools you used. For many, it’s the least fun part, just like how it is when washing utensils after cooking.
Before you get to cleaning, though, make sure you (very carefully) gather up all that fine scissor hash from the blades of your shears, as it’s mainly composed of resin. Consider it like the leftover cake or cookie batter on a kitchen instrument.
Now, there are many of you out there who are probably wondering why you need to clean your trimming scissors in the first place. After all, they've been used solely on your plants, so where’s the harm in that?
It’s mainly to avoid any cross-contamination. Uncleaned scissors are at risk of developing mould, and you wouldn’t want that for your next batch, now would you? Also, properly maintained tools usually last longer, which saves you money.
Rubbing Alcohol
Want an easy, quick cleaning method? First, scrape off the leftover resin on your shears. Next, take a cup of rubbing alcohol and drop your trusty snippers in it. Leave your shears submerged in the alcohol for 15–30 minutes for best results.
If you’re doing a lot of trimming in a day, you’d be better off having multiple shears around. That way, you’re not wasting any precious trimming time.
To learn more about cleaning and maintaining your trimming shears, let this comprehensive article guide you.
Other Cleaning Solutions
If you’re not a fan of rubbing alcohol for whatever reason, there are other ways to clean your trimming scissors. White vinegar is another option you can use that involves the same process.
Then there’s the citrus peel option. In a small bowl, mix equal parts coconut oil and baking soda, then add a citrus peel of your choice.
If you don’t want to involve liquids of any kind, you can simply leave your scissors in the freezer. This causes the leftover resin to harden, which makes for easier scraping.
What To Do With Cannabis Trim
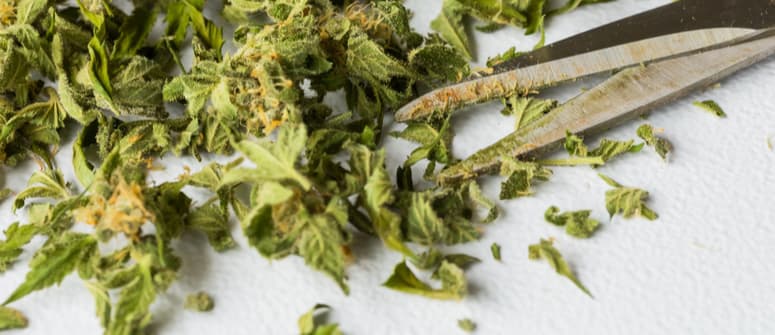
As mentioned a few times in this article, your cannabis trimmings can be put to great use. Apart from the examples outlined earlier, here are some fantastic ways to utilise those leaves you’ve just snipped off.
Make Some Hash
Hashish has always been known as the perfect enhancer for your cannabis buds. The good news is, you can make your very own batch using your discarded trimmings.
Water hash is one option, which you’ll need around 200 grams of trim for. That should give you up to 20 grams of hash in return.
Dry sift hash is another option, and this will give you a good bang for your buck. The same amount of trim will yield you double the amount of hash in return.
Whip Up Some Cannabutter
So you’ve been thinking about making some edibles for a while now. However, you’ve been putting it off because you don’t have any cannabutter and you don’t know where to get some.
Well, guess what, you can now make your own out of the leaves you’ve cut off. And you don’t even need that much! Around 30 grams of trim can get the job done.
Create Some Infused Cooking Oil
If you happen to be lactose intolerant, or butter simply isn’t your thing, cannabis-infused oil is a good alternative. Using 100ml of olive oil, mix in around 100 grams of your cannabis trimmings.
Leave the mixture on low heat for three hours. Cool it, strain it, and store it for future use. Now you can whip up your favourite dishes with a little kick.
Make Your Own Rolling Paper
Leaves are a primary ingredient used to make paper. Similarly, you can produce your very own rolling papers using leftover cannabis fan leaves.
By drying them flat, they will retain the ideal shape. Or, you could allow a wrapped bundle to cure and use it to roll your buds blunt-style.
Make Some Cannabis Milk
Yes, you read that right. Your cannabis trimmings can be used to make your very own herb-infused milk.
Just like with cannabis oil, you’ll need 100ml of whole milk or cream and about 100 grams of ground-up trim. Simmer this mixture for up to 30 minutes, let it cool, then store it in the fridge.
Now you have some cannamilk to mix with your smoothies, milkshakes, and coffee.
Create Your Own Cannabis Extracts
If you were able to stash away a good amount of trim, you can create your own cannabis extracts. Butane hash oil (BHO) is a popular choice, with the aid of a solvent extraction tube.
Just keep in mind that butane is a highly flammable material. If you choose to go about this process, be sure to educate yourself about the proper safety measures.
Can Trimming Cannabis Make You High?
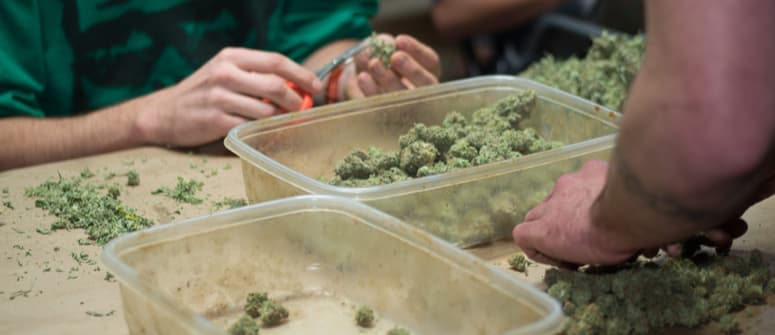
This is quite an interesting topic of discussion. Especially on growing forums, you’ll read stories of people claiming they got high just from handling weed.
We can’t exactly disparage these claims, as each person’s experience is subjective. But the consensus among most cultivators is that trimming cannabis won’t get you high.
For one, buds need to be heated to activate their compounds and bring out their psychotropic effects. Second, you’ll likely be wearing disposable gloves while trimming, so there is very little to no contact with the trichomes themselves.
But hey, even if trimming buds can’t get you high, that doesn’t mean you can’t feel good while doing it, right?
Trimming Cannabis: Crucial for the Best End Product
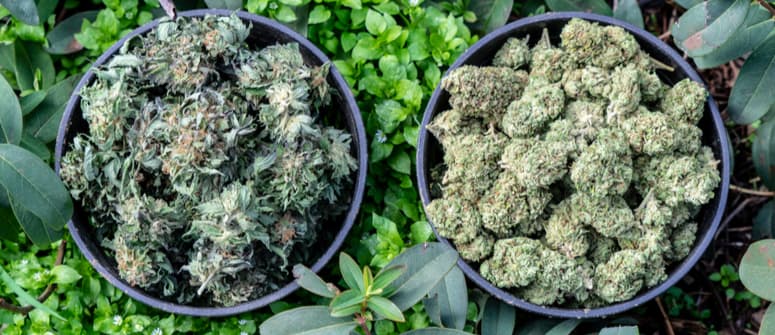
This comprehensive guide should walk you through the entire process of cannabis trimming. Even if you’re an absolute novice, this article will be useful for your first few tries at manicuring your own buds.
While it is mostly about aesthetics, trimming your cannabis plants greatly improves the product as a whole. That translates to a great overall consumption experience, which is what we’re all looking for, after all.
The whole routine of trimming cannabis plants could be a bit daunting if you look at it on paper. But don’t worry, it can turn out to be very fulfilling as you go along with it. Eventually, you’ll gain a deeper appreciation for the entire process itself.
.jpg)
.jpg)

.jpg)
